Thursday, May 24, 2012

Adding some curb appeal


Yea its not pretty.

When my mom came down for a visit last week, she just couldnt resist planting me some flowers.
we went to WalMart and picked up a few plants, dirt, flower pots, and red mulch, since thats whats around the bushes already. (way over grown lol)


We got all of these on clearence, except the ivy, because they were pretty scraggly. You can see on the right all the plants, (and my mom trimming down the scraggly flowers.)
Youll need a tall plant towards the back for hight, flowers for color, and ivy that will grow and spill down the sides.

fill the pot half way with dirt.
Cut off damaged, dying leaves. And for flowers be sure to cut off the blooms.


Hold the base of the plant down by the dirt, turn up side down and pull gently.


These were pretty root bound, which is why they were so cheap. Just take your fingers and break them up.

Set it towards the back. the flowers to the front, and the ivy on both sides. Fill in with dirt, top with mulch.


for the flower beds, put down 3-4 sheets thick of news paper, over lapping the edges a couple inches.
If you are planting directly in the beds be sure to only use black and white ink print newpaper, the colored ink will kill the flowers. Since I wasnt I used whatever. Place 2-3 inches thick of mulch over the whole newspaper, and water good. This keeps you from having to weed or remove grass from the flower bed before you start, and doubles as landscaping fabric. The ink kills the weeds, and the paper keeps them from coming back for quite a while, about the same as the fabric, and its free.
We bought these landscaping bricks for 1.98 to set the flower pots on. and here we go again with the before
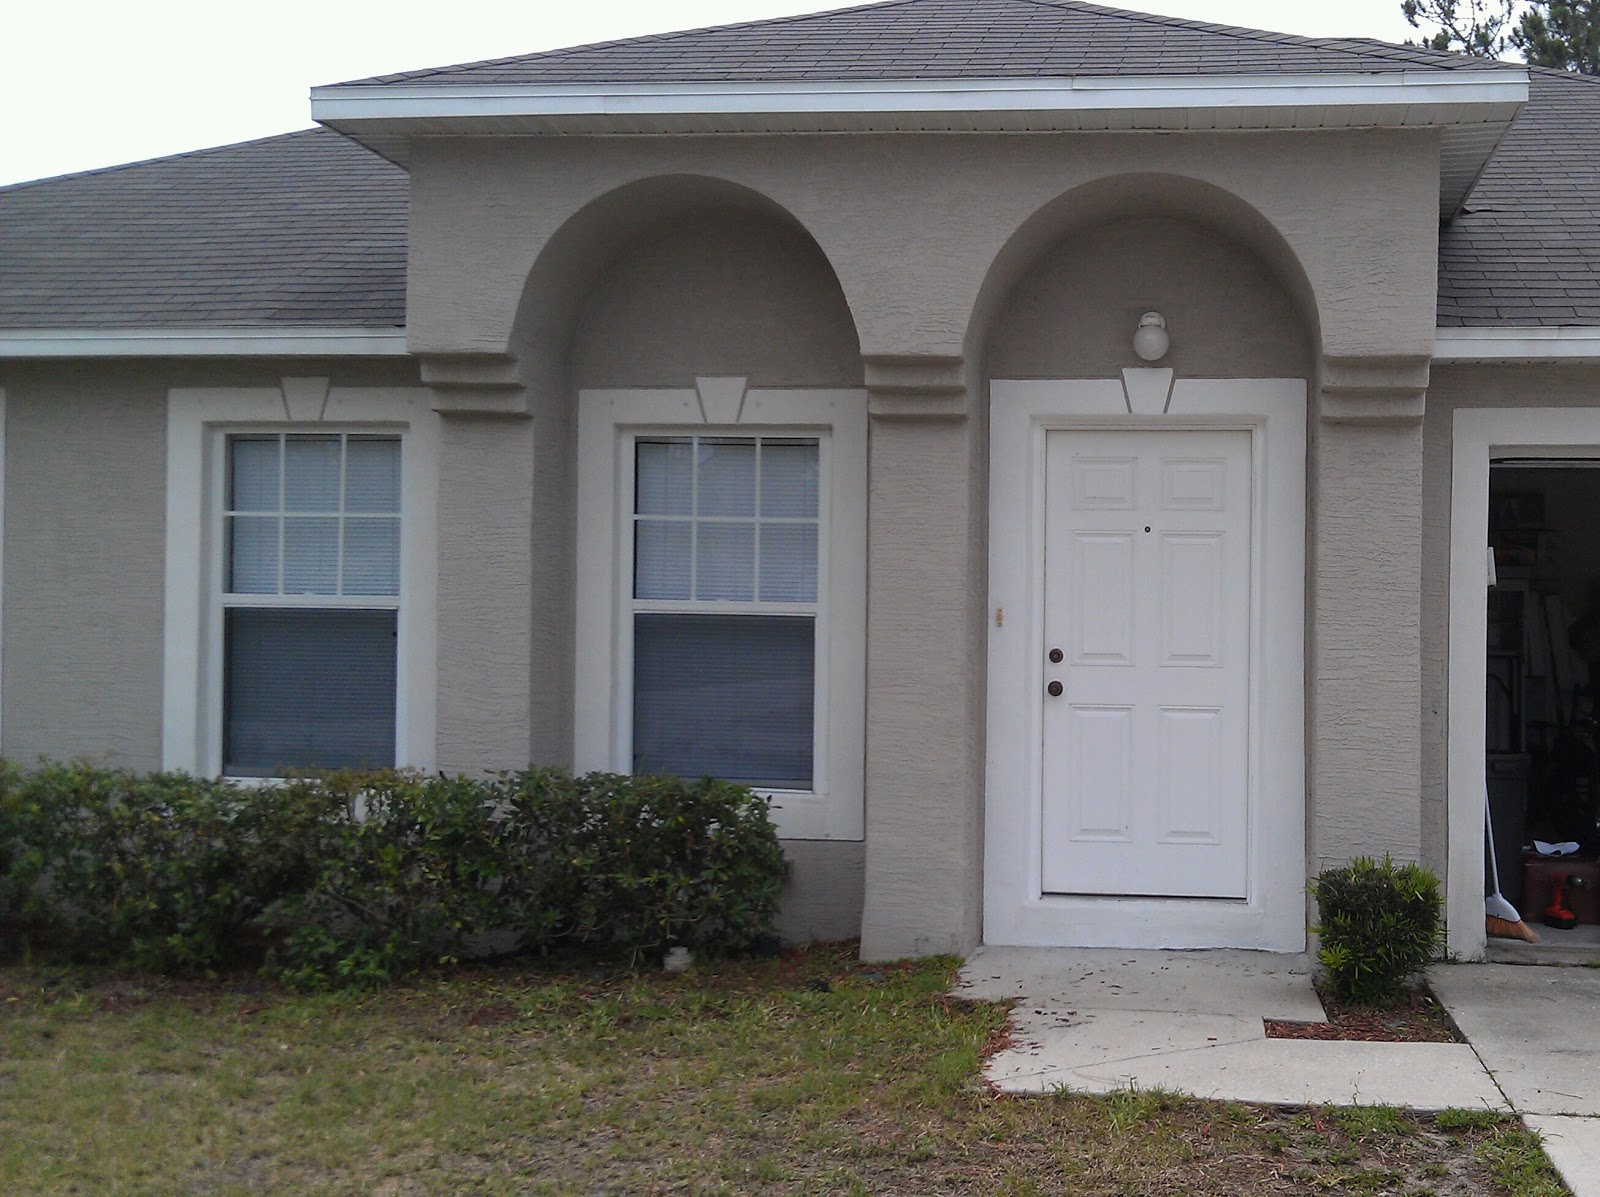
 after :)
ooooo  ahhhh!! so much better. (it also decided to rain in the middle of this!)
(also i need to get some edging pavers...maybe one day lol and a wreath soon, and a little spray paint on my light & door bell)

and a week later!


and they doubled in size :)

Thanks mom!

Wednesday, May 9, 2012

Pallet Art Fork, Knife, Spoon

UPDATE: 10/6/13
You can now purchase these from my etsy shop here!

OH, Pallets how I love you!


I took apart a pallet, attached 3 pieces together, Then used a mixture of white vinigar and 0000 steal wool to make the wood look weathered. I just brushed some on and let it dry.

Then I found this awesome image of the fork, knife, and spoon HERE
I transfered it using the same carbon paper way ive been using. Then I just colored it with a sharpie. I had to used some artist skills here for the shading lol!


I love them on my floating drawer shelves :-)
The labels on the bottles are also from the graphics fairy.
The Vinilla bottle, was a fiji water bottle I painted white, cause i liked the shape.
The Bay Rum bottle was an egg nog bottle :-)


Monday, April 30, 2012

Portly Pig cutting board

Here is a quick project I whipped together today!

I got this old cutting board in a box of free stuff sitting at the curb. I knew I wanted to do something with it. I came across this image of 2 cute fat pigs from the graphics fairy .
I typed up the Bon Appetit in Microsoft Word using the font "Blackadder ITC"


It was pretty dirty and gross, I didnt take a picture before I cleaned it up, so just use your imagination.


Here it is cleaned up.


I modified the image in Paint, by erasing all the extra stuff to save ink.(im on my last few drops)
I used the pencil transfer method like I used here.
Taped it in place and traced over the image.
Then did the same with the letters. Then filled it in with a sharpie!

Now it sits above my cabinets in the kitchen along with my portly french chef! :-)
Ahhh... another great item saved from the trash!

Shipping crate storage bench!

I needed a place to store our dvd collection! I didnt like the open shelves we had before, I wanted to make a storage bench that looked like an old shipping crate. Of course I took apart a pallet :-)


I started by building a simple box,
Start with the sides,

Then attach the front and back, then I built the top
Used some hindges to secure the top to the base. I didnt build a bottom because it really didnt need one since I was just putting it on the floor.

Now I got all those awesome images, including the key on the pillow, from the graphicsfairy ! The front image here. She has an awesome collection of free vintage clip art!! Then I used this website to turn my image into a bigger one.

I was going to use carbon paper to transfer the image to the wood but I wasnt about to pay $16 for it!
So I turned the image over and colored really hard with a pencil.

It works just the same as carbon paper but for $0, assuming you have a pencil laying around.

Then I tapped it down where I wanted it and started tracin over the image. Be sure to press kinda hard to make sure the image transfers well.

As you can see here it works pretty good, it just takes some time coloring the back of the image with the pencil, if youd rather spend the $$ and get done faster, do that.


Then I just filled it in with a sharpie.


I love it! we just had a party and the bench came in handy for extra seating!

Im linking up to The Graphics Fairy today to brag about my work with her images :)

p.s. I updated with high quality pictures!


Saturday, April 28, 2012

Cute Fabric Flowers


These are so easy and cheap to make! Scrap fabric, buttons, needle and thread!


Ahhh :-)


These jars were kinda borring...


I took some burlap, carefully hot glued one end, and wrapped it around and glued the other end,


Now time for the fowers, pick out some scrap fabric, here I used an old t-shirt.
find a circle, keep in mind one petal will be 1/4 the size the circle, to trace around. I used 3 different sizes.


Trace 5 circles of each size, this makes 1 flower, and cut them out.

fold in half veritcially


Fold in half again.


hold the 2 folds facing you, sew along the cut edges. Start the first petal from under neath to hide the knot in the thread. Double the thread to make it stronger so it wont break when you pull it tight.


sew long stiches along the cut ends.


hold the thread, and scrunch down the fabric.
and repeat for each petal, being sure to start with the 2 folded ends facing you each time.
for the 2nd and rest of the petals, poke the needle from the top side down, this will keep the petals nice seemless looking when pulled tight together.


after you have all the petals on, thread the needle back through the first one, just enough to join them
Pull tight and tie off.


Then hot glue a button over the hole, it needs to be slightly bigger than the hole.
if you dont have buttons, you could cut out a circle from cardboard, and cover it with fabric.
Then glue the flower to whatever :-)


These are so cute! I had to make more :-)


bottles from my neighbors recycling, since we dont drink, but the bottles are so cute to decorate with!
Im sure ill be making a ton more of these!